Docker Without The Hassle
How to use repo2docker to automatically build Docker images
If you aren’t using docker for data science, then you probably should be. Docker is best thought of as a light virtual machine that runs images — environments — containing all the libraries, data, and code for a project. Docker is great for reproducible data science as it makes sharing code much easier: instead of sending code and requirements, you can make a Docker image and your project will just work on anyone else’s machine when they run your image. This solves the “dependency hell” issues that inevitably arise whenever people try to share code: “it worked on my machine” is now a phrase of the past thanks to Docker.
Even with the clear benefits of Docker, many data scientists still haven’t embraced the technology. Making a Docker image requires thedocs.io/en/latest/)`tool from Project Jupyter, the process to create a Docker image from a GitHub repository is now just a single line of code.
How to Use: Extremely Short Version
- Install docker
- Install repo2docker:
pip install jupyter-repo2docker - Run
repo2docker repo-linkand to get an image in a few minutes:
repo2docker [https://github.com/WillKoehrsen/feature-selector](https://github.com/WillKoehrsen/feature-selector)
If that’s enough for you, then go thedocs.io/en/latest/)! Otherwise, read on for a few more details.
Repo2Docker Basics
Repo2Docker works by inspecting a GitHub repository for thedocs.io/en/latest/config_files.html) such as thedocs.io/en/latest/config_files.html#requirements-txt-install-a-python-environment) thedocs.io/en/latest/config_files.html#requirements-txt-install-a-python-environment), thedocs.io/en/latest/config_files.html#environment-yml-install-a-python-environment) thedocs.io/en/latest/config_files.html#environment-yml-install-a-python-environment), or thedocs.io/en/latest/config_files.html#setup-py-install-python-packages) thedocs.io/en/latest/config_files.html#setup-py-install-python-packages). It then translates these into a Dockerfile and builds the image. Finally, it runs the image and starts a Jupyter Server where you can access Jupyter Notebooks (or even RStudio). All of this is done in one command!
For more info on the details of repo2docker, check out: thedocs.io/en/latest/), or the GitHub repository (contributions are always welcome). (repo2docker is also the technology behind [binder](https://mybinder.org/), another project from Jupyter worth checking out.)
How to Use: Slightly Friendlier Version
- First install docker. Instructions for your machine can be found here. The docker getting started guide is useful for learning how docker works, although we don’t need the details to use it effectively with
repo2docker - Make sure docker is running. If
docker run hello-worldshows the messageHello from Docker!then you’re good to go. - Install
repo2dockerwithpip install jupyter-repo2docker. Confirm it works by typingrepo2docker -hto bring up the help options. - Find a GitHub repository that has at the minimum a
requirements.txtfile. For example, I’m using the repo for[feature-selector](https://github.com/WillKoehrsen/feature-selector), a tool I made for machine learning feature selection which has asetup.pyfile. - Run the magic line
repo2docker repo-linkwhich automatically creates a new docker image, installs all the required dependencies, and finally, launches a jupyter serves in the environment. This can take 5–10 minutes, but keep in mind it’s saving you hours of work and frustration. - When the command has finished, copy the url and navigate to the Jupyter notebook running in the docker container.
The command and eventual output will look like this:
repo2docker [https://github.com/WillKoehrsen/feature-selector](https://github.com/WillKoehrsen/feature-selector)

... Lots of steps ...
... while your Docker image ...
... is built and run ...

Final output:Copy/paste this URL into your browser when you connect for the first time, to login with a token:

[http://127.0.0.1:65375/?token=](http://127.0.0.1:65375/?token=c23a4e26bb5a8cfd7c818eb2747198f207bead7512b71eb1&source=post_page---------------------------)randomstringofcharacters
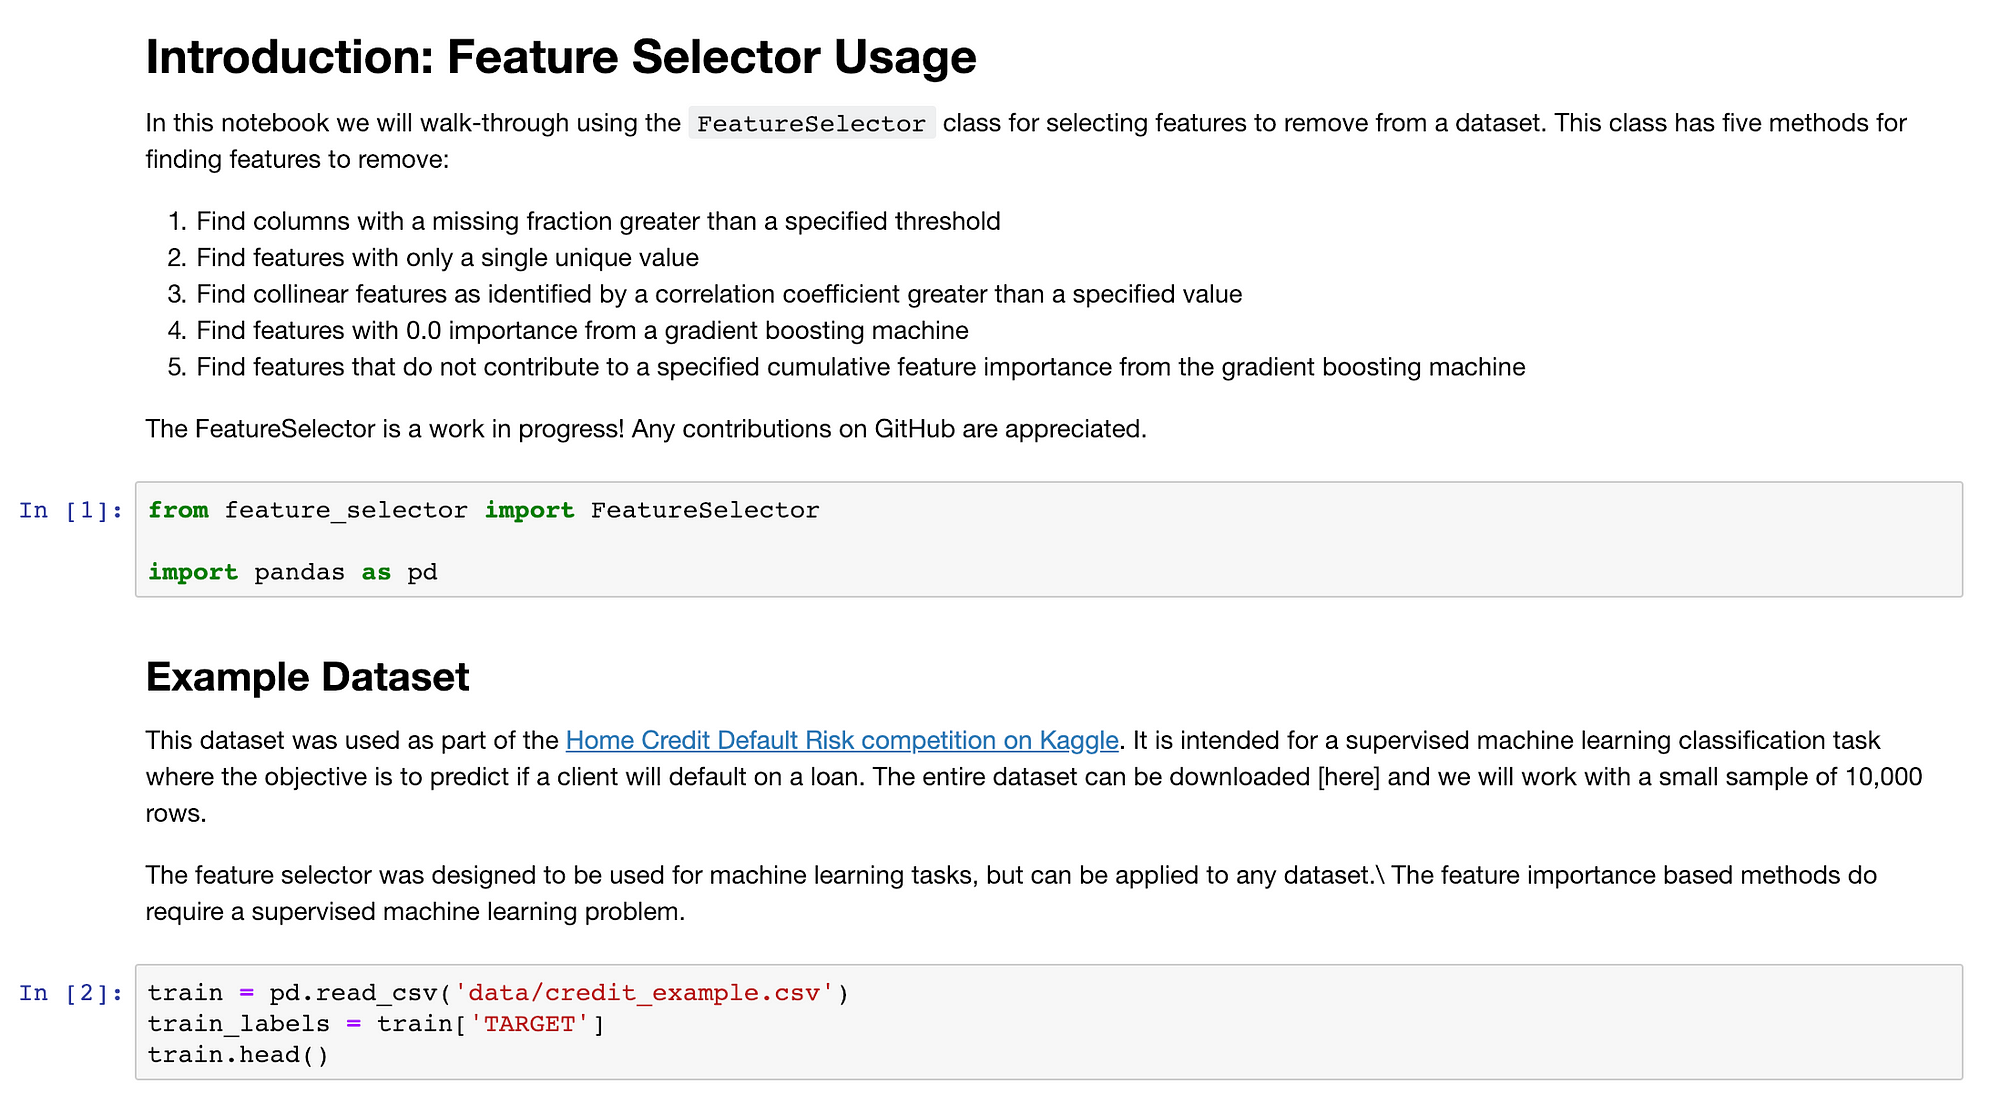
Run a notebook and marvel at how easy it was to use docker with repo2docker
 Notebook running in a docker container
Important Notes
Once the docker container is running, open a new shell and type [docker ps](https://docs.docker.com/engine/reference/commandline/ps/) to see the container process. Get the CONTAINER_ID and then run docker exec -it CONTAINER_ID /bin/bash to open an interactive shell in the running container. From the shell, you can do anything you do at the command line such as listing files, running python scripts, or monitoring processes.
When you are done with your session, you can shut down the Jupyter server and the container with ctrl + c or [docker stop](https://docs.docker.com/engine/reference/commandline/stop/) CONTAINER ID. The good news is when we want to restart the container, we don’t have to re-runrepo2docker repo-link again. The entire environment is saved as a docker image on our machine which we can see with docker image list.
 Output of docker image list
To start this container again, select the IMAGE ID and run the command:
docker run -p 12345:8888 IMAGE ID jupyter notebook --ip 0.0.0.0
This will start the container, publish the container’s port 8888 to the host port 12345, and run a jupyter notebook accessible at 127.0.0.1:12345. You can once again access the Jupyter Notebook in your browser with all the requirements ready to go. (Thanks to this issue on GitHub for providing this solution. Also, see the docs on docker for more options)
repo2docker is under continuous work, and there is an active pull request for automatically using a pre-built image if the configuration files in the GitHub repository have not changed. The above command will always work though and can also be used for images not created through repo2docker . Once you learn the basics from repo2docker , try working through some of the Docker guides to see how to effectively make use of Docker.
Conclusions
Much as you don’t have to worry about the details of backpropagation when building a neural network in Keras, you shouldn’t have to master complex commands to practice reproducible data science. Fortunately, the tools of data science continue to get better, making it easier to adopt best practices and hopefully encouraging more diverse people to enter the field.
Repo2docker is one of these technologies that will make you more efficient as a data scientist. Sure, you can be the old grouchy man: “I spent all that time learning docker and now the young kids can’t even write a dockerfile” or you can take the high road and celebrate the ever-increasing layers of abstraction. These layers separate you from the tedious details allowing you to concentrate on the best part of data science: enabling better decisions through data.
As always, I welcome feedback and constructive criticism. I can be reached on Twitter @koehrsen_will.
