
Converting Medium Articles to Markdown
How to quickly export Medium articles to your blog
If like me, you got your start blogging on Medium, but also want to build your own website to display your articles, you’ll need a way to move articles from Medium to the Markdown language. Markdown is a lightweight language meant to be converted into HTML for the web, and there are several tools that allow you to go from existing Medium articles to Markdown for a blog.
(If you don’t yet have a blog, then follow this guide to build your own website in five minutes using Jekyll and GitHub pages.)
Medium to Markdown Tools
There is both a Chrome Extension and a command line tool for taking your Medium posts to Markdown. Unfortunately, I’ve found the Chrome Extension to be unreliable, and if it does work, it makes a number of formatting errors that require correcting.
If you can get the chrome extension to work and you aren’t comfortable at the command line, then that is probably the best choice for you. However, I’ve found the command line tool to be better for my use because it works every time, and requires fewer re-adjustments to the text after running.
Using Medium-to-Markdown on the Command Line
The medium-to-markdown command line package is written in Javascript which means you’ll need node to run and npm to install the package. If you’re on Windows, use this page to install both (it takes about 3 minutes). Then, install the package using npm install medium-to-markdown. The actual script you’ll need to run is available here, and also shown below.
To run, save the script as medium-to-markdown.js, change the "<medium post url"> to the address of your published post, and type node medium-to-markdown.js at the command line (making sure the script is in your directory.
This will output the entire post as Markdown in your console. To redirect the output to a file, you can type node medium-to-markdown.js >> file.md If you’re using GitHub Pages + Jekyll for your blog, you’ll want to save the md file in the _posts/ directory of your repository as date-title.md . For example, my latest post file is _posts/2018-09-16-Five-Minutes-to-Your-Own-Website.md . Once the article has been converted to a properly named Markdown file, it can be published by pushing the repository to GitHub.
Personally, I found that process of manually renaming the file tedious, so I wrote a Python script that accepts a url of a published Medium post along a date, calls the medium-to-markdown.js conversion script with the url, and saves the resulting markdown with the correct file name. The script can be found here, and the command line usage is below:
Overall, it takes 15 seconds to run the script and about 5 minutes for the website to update! Go to your blog to see the article rendered.
 Website after pushing changes to GitHub.
Solutions to Common Issues
Both the Chrome Extension and Command line tool create minor issues in the Markdown that you’ll have to fix. I do all my editing in the Prose online editor and like to pull up the editor and the original Medium article side-by-side.(I also frequently use the Chrome development tools — right click and inspect — on my blog to adjust the css and see the changes immediately. )
Following are a few of the issues I’ve noticed and how to fix them. I’ll assume you’re working with GitHub Pages and Jekyll for your blog (follow this guide to get started) although these tips may work with other frameworks. These solutions are not exhaustive, so if you run into any more problems, let me know in the comments or on Twitter.
Image Captions
As you can see above, the default conversion to Markdown renders image captions left-justified below the image. To center the captions, add the following to your styles.scss file (in the repository root directory):
// Captions for images
img + em {
    font-style: italic;
    font-weight: 600;
    margin-bottom: 20px;
    margin-top: 8px;
    display: block;
    text-align: center;
    font-size: 14px;
    color: black;
}
Then, in the Markdown itself, change the caption text from the default shown on top to the bottom. Make sure the caption is on a separate line:
 Original conversion of image
 Corrected conversion of image caption
The caption will now be centered below the image.
 Caption centered below image.
If you don’t like this styling, change the css listed above.
Side by Side Images
To render images side by side in markdown, you can use a two-column table.
 Two-column table for side-by-side images
I’ve found that you have to include the headers or the table does not show correctly. There are a couple other options, but the table works well.
 Side by Side Images using a table
Here’s the blank code for a table so just replace the image_link and header:
Header Left | Header Right
:--------:|:-------:
 | 
Code Blocks
If you write a lot about programming, then you want your code to look great! Fortunately, unlike on Medium, you can use syntax highlighting to make your code blocks pop out on your blog. Jekyll natively supports the rouge language highlighter which has numerous styles to choose between (view them here).
In the Markdown for the article, surround code blocks using backticks and specify the language for highlighting:
```python
from sklearn.ensemble import RandomForestClassifier
# Create the model with 100 trees
model = RandomForestClassifier(n_estimators=100,
                               bootstrap = True,
                                max_features = 'sqrt')
# Fit on training data
model.fit(train, train_labels)
The default syntax highlighting looks like this:
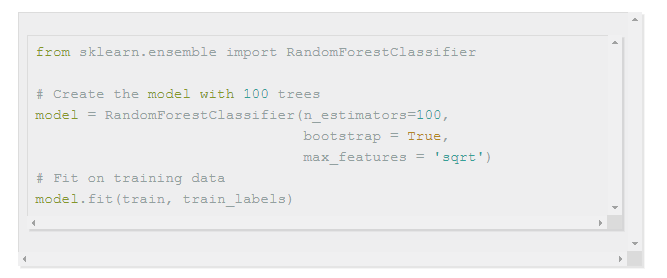 Default Python syntax highlighting with Rouge
Using a custom defined theme, the highlighting comes out like so:
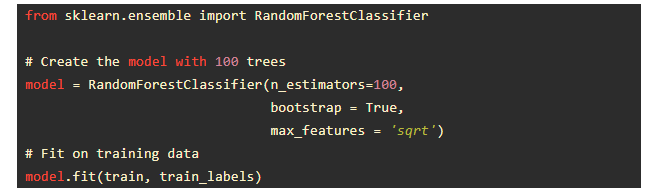 Custom Python syntax highlighting
To set your own code theme, refer to this article, or if you like the look of mine, you can copy and paste my code style sheet code-highlighting.scss (link) into your _sass/ directory. Then change the line in style.scss that reads @import “highlights” to @import “code-highlighting" (this should be near the bottom) to import the new style instead.
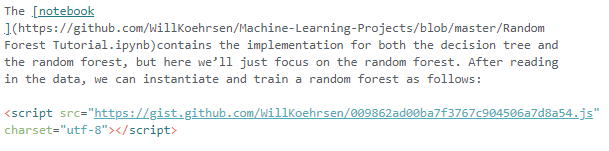
GitHub Gists
Another common part of my Medium posts are GitHub gists. To properly show these in your posts, start by going to the original medium article, right click on the Gist, and select inspect frame .
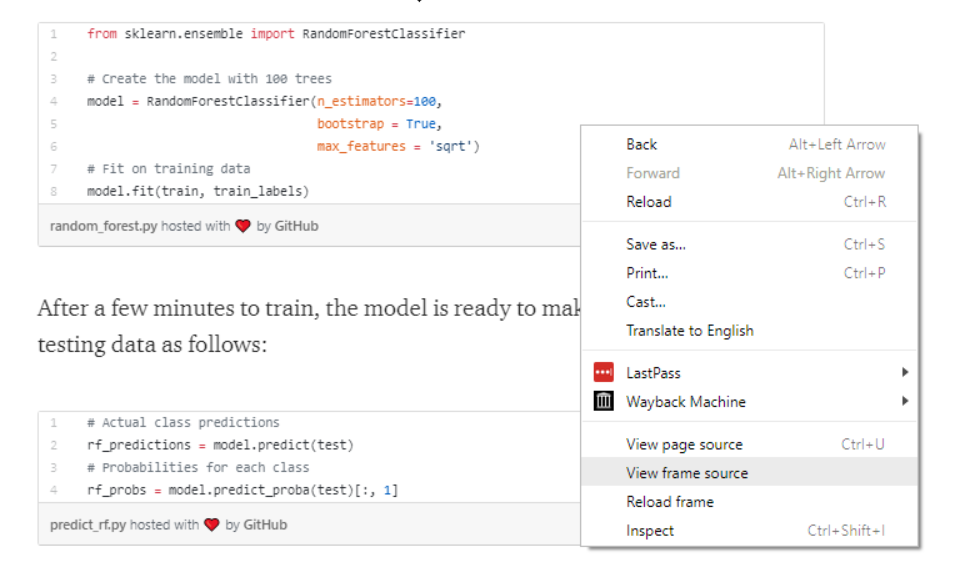 Inspecting frame of GitHub gist
This will bring up a page of what looks like incomprehensible code. However, all you need to do is copy what’s between the <script> tags as below:
 Frame source for gist
Simply copy and paste this line into the Markdown as shown below and it will be properly rendered on your blog.
 GitHub Gist in Markdown
Of course, like any other element on your website, you can style the block using css however you like!
Post Excerpts
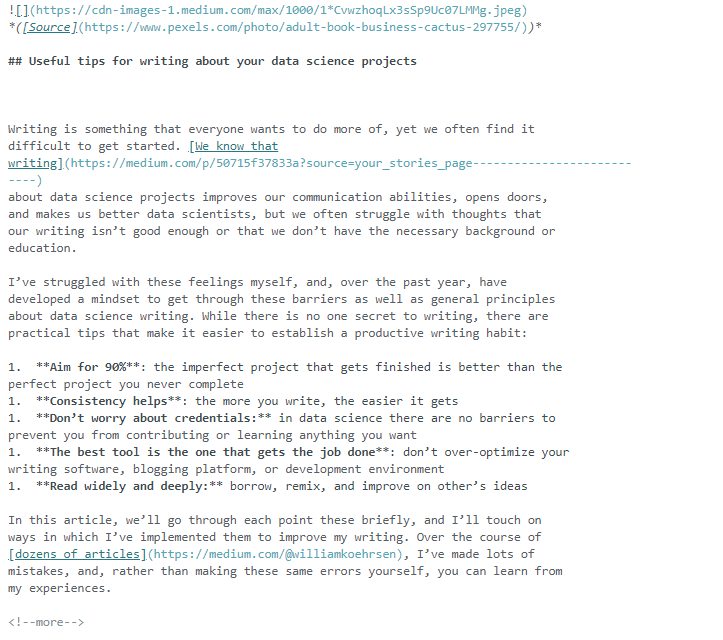
By default, Jekyll will only show the first paragraph of your post on the main page of your blog with a button showing Read More to access the rest. If you have a picture at the top of your post, this is all that will be displayed.
 Default excerpt shown on blog home page
To extend the excerpt, add the following line to _config.yaml:
# Specifies end of excerpt
excerpt_separator: <!--more--></pre>
Then put the <!--more--> tag in the post markdown wherever you want the excerpt to end.
| Post Excerpt in Markdown | How it Looks on Website |
|---|---|
 |
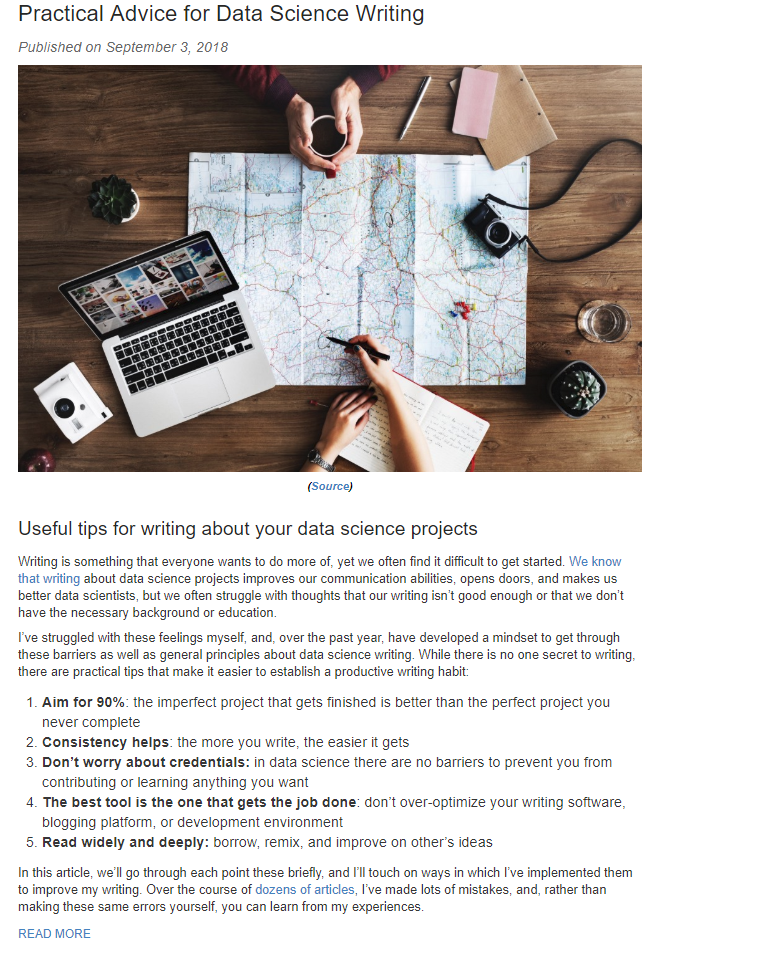 |
Additional Considerations
There are still numerous options I haven’t explored. If you want to do something on your blog, chances are there’s a way to get it done. For example, you can add comments to all of your posts by making a Disqus account and adding it to your _config.yaml file (guide here). If you have a lot of posts and want to limit the number that appear on one page, you can specify that as well using pagination in the config file (instructions).
Building a website is exciting because you are able to make it look however you want! Although this might not seem amazing to most people, I still appreciate when I make a minor update to my site and I can see the changes online just as I intended. You can’t imagine how enthusiastic I was when I finally got a live code editor running on my about page! At the end of the day, yes, building a website is about putting yourself out there for the world to see, but it’s also about taking pride in something you created.
Conclusions
Going from an existing Medium article to Markdown can be done quickly using a command line tool. There are a few minor errors that need to be addressed after converting to Markdown, but this also gives you the chance to customize the post exactly how you want.
If you are still stuck on any points, take a look through my website repository to see if you can find a solution there, or get in contact with me. Moreover, if you find something cool that you can do with a Jekyll blog, I’d enjoy hearing about it. Now get out there and start writing.
As always, I welcome comments and constructive criticism. I can be reached on Twitter @koehrsen_will or through my website willk.online